
Any hiking adventure needs proper planning based on several factors:
- Where and when you are hiking
- Length of your hike
- Your experience
- Your fitness and required training
- Your equipment
- Safety and Support
- Most importantly, your enjoyment
Preparing for the Larapinta Trail is no different, and the above factors can make the preparation far more in-depth than your average hike.
Where, When and Length
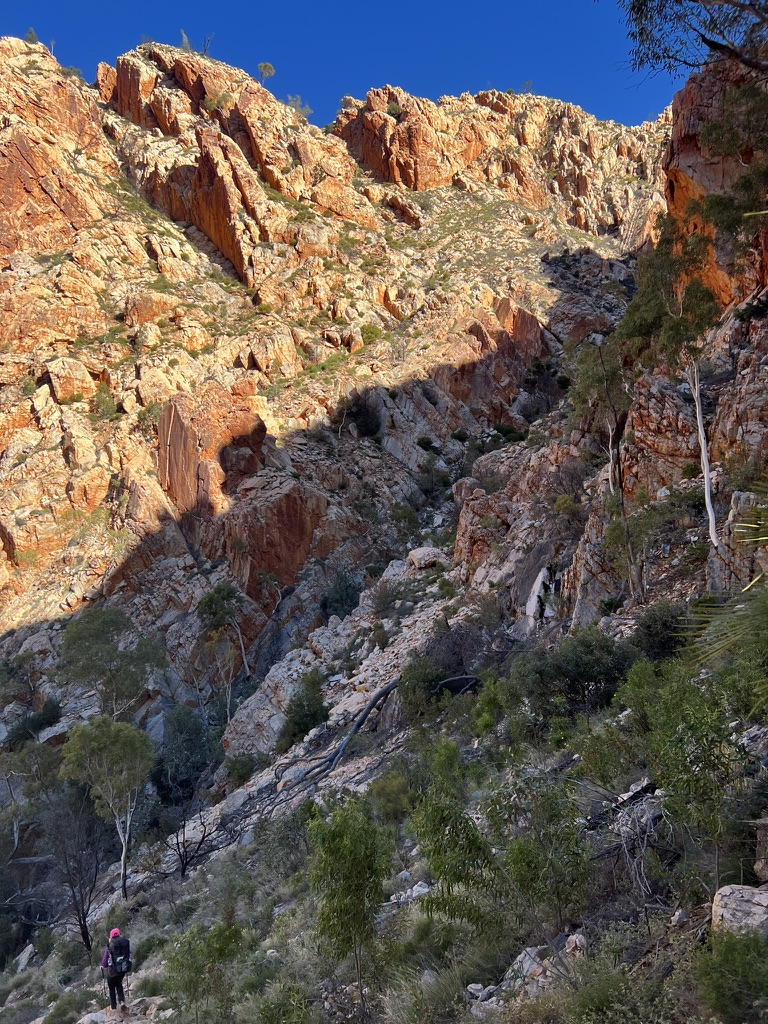
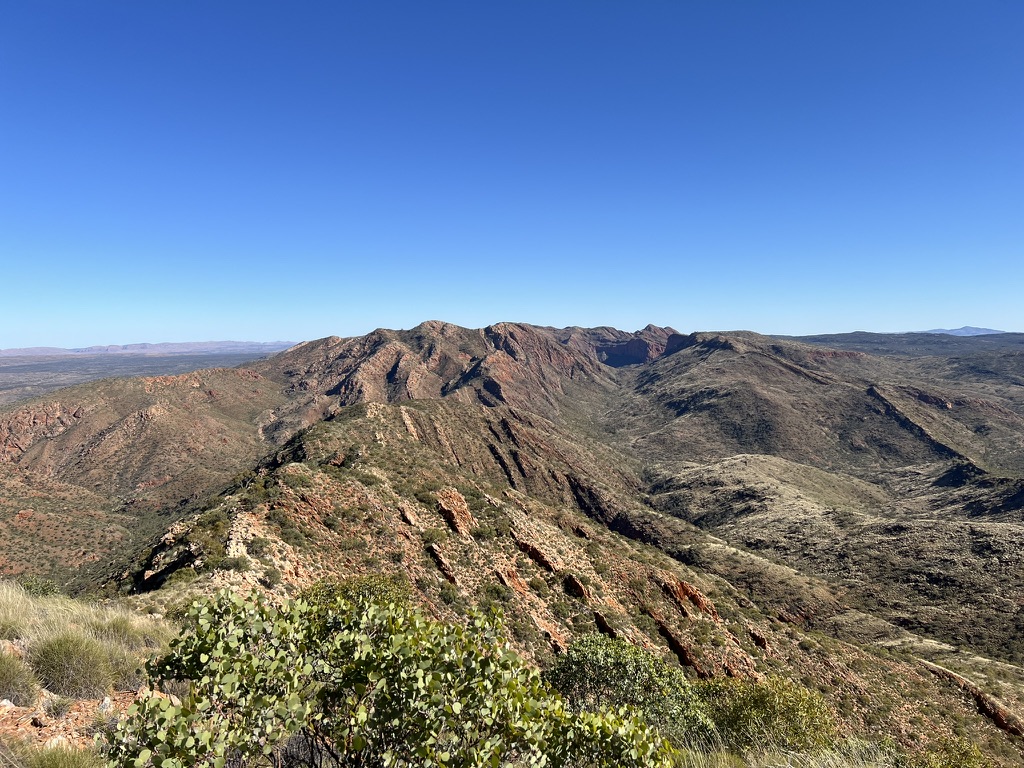
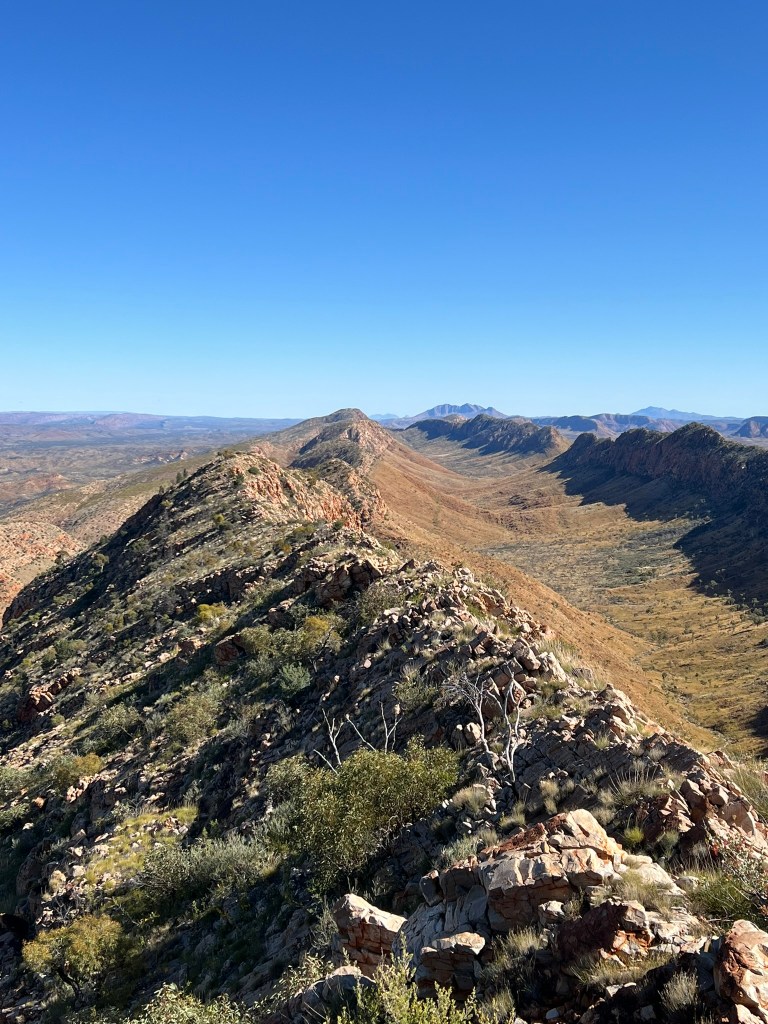
Given the Larapinta Trail is located in Central Australia, it should only be attempted in winter when daytime temperatures are generally in the 20s (Celsius). In summer, temperatures often soar to the high 30s and even 40s. Another factor to consider is the radiant heat; you are either walking or surrounded by rock the entire way, so even a day at 20°C feels much hotter than 20°C in Victoria or Tasmania.
The trail was originally designed as a 20-day walk, but this includes several very short days. Most people complete the trail in 14-18 days, although very fit hikers might finish in 10-12 days. Most itineraries will require water carries to dry camps, which needs to be factored into your pack weight.
Personally, I had never been to the Northern Territory, so I wanted to spend as much time experiencing the hike. I chose 18 days, meaning most days I arrived at my campsite between 1 pm and 2 pm.
You can walk in either direction, East to West or West to East, each offering various pros and cons. East to West is how the trail was planned and allows you to finish with some epic experiences, such as sunrise on Mount Sonder. However, it means you could be walking into the hot afternoon sun and need transport back to Alice Springs, which fixes your end date.
West to East provides more flexibility on your finish and the afternoon sun is behind you. The downside is that several climbs are steeper, and the last few days don’t offer the same experience as you are walking towards Alice Springs, not Mount Sonder.
Another factor is access points and food drops. If something goes wrong, or you need a re-supply, knowing where the access points are is critical. The vast majority of hikers will need food drops; there are three along the trail – Standley Chasm, Ellery Creek South/Serpentine Gorge, and Ormiston Gorge. The decision to use Ellery Creek South or Serpentine Gorge will impact your itinerary. Serpentine Gorge typically adds an extra day’s worth of food to carry from Standley Chasm but reduces the length of Section 7 and avoids the day trippers/4WD campers at Ellery Creek South. I chose Serpentine Gorge for these reasons.
Experience and Fitness
The Larapinta Trail is generally a moderate to difficult walk requiring a good to high level of fitness and hiking experience to handle rough and steep sections. If you’ve never done a multi-day hike over 5 days, don’t spend time training, don’t have the strength to carry 20 kg packs, don’t have first aid skills, and don’t have navigation skills, this isn’t the walk for you.
Get more experience and come back when you are ready. Don’t be one of the many who quit when the going gets tough, as it will.
In the weeks leading up to my trek, one person perished on the trail, and another got lost and needed rescuing. During my trek, I encountered at least a dozen people who retired due to injury (a broken leg, torn Achilles, smashed faces from falls, and gastro) and about the same number who quit because they weren’t prepared or fit enough.
Experience and fitness for the trail are critical.
Training
Most people will need to undertake some form of training before they hit the trail to ensure they have the necessary fitness. How much and what type will depend on each individual. This isn’t specific advice on what you should do – more so what I did to prepare, and it really wasn’t enough, but I’ll get to that.
Due to my work and life commitments, I wasn’t able to do a multi-day walk in preparation since my Overland Track walk 14 months earlier, which was definitely not ideal. I did about a dozen day walks in the 2-3 months leading up to the trek, ranging from 10 km to 20 km, most carrying a semi to full pack. I don’t recommend this approach; do some multi-day hikes in the lead-up. This left me unprepared for a few of the days, but my other training helped cover this weakness.
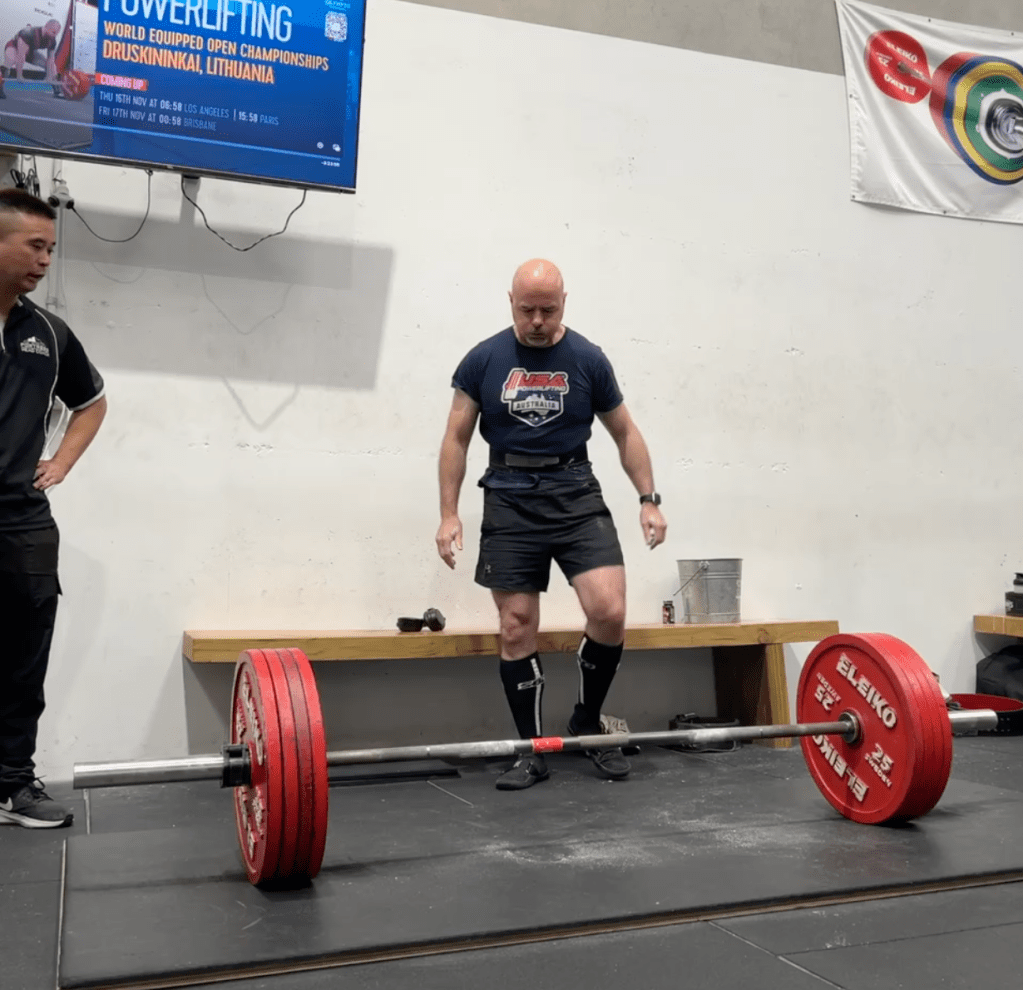
I spent 4 days a week at the gym lifting weights, which meant I had the necessary strength for pack carrying, long steep sections, and rock scrambling. Having a 15-20 kg pack on my back wasn’t an issue when I typically squat and deadlift many times more this weight regularly. About 8 weeks out, my gym routine was adjusted to add specific strength activities – weighted walking lunges (often carrying 70kg), weighted step-ups, and lots of hamstring, glute, and quad work. I also reduced my strength sessions and increased my cardio through the ERG rower and running 3 days a week. I know the last 5 or 6 years competing in powerlifting provided me with a good strength base which “covered” the fact I hadn’t done enough multi-day walks in preparation.
Another factor is training your mind. Things will be hard, and you need the mental fortitude to push through. If you’ve never worked yourself to the point of failure, you will struggle on the Larapinta Trail. Standing at the bottom of a 500 m climb carrying 8 litres of water (that’s an extra 8 kg), you can either push on or give up. If you give up and are not at a trailhead, expect an expensive bill to be extracted. Again, the training I’ve done for powerlifting helped here – when the going got tough, I remembered what it is like pushing hard in the gym to lift weights. You need to believe in yourself and keep a positive attitude.
Equipment
I’m not going to go over a complete gear list; if you are an experienced hiker, you’ll know what to take. But remember, you will be carrying everything for 230 km, so have the lightest possible gear you can afford. If it’s not light, replace it or don’t take it.
You should weigh everything you take and ensure your base weight is as low as possible. Mine was about 11 kg when I headed off from Alice Springs, and I reduced it at Standley Chasm, leaving behind items I wasn’t using. (If you don’t know what base weight is, you shouldn’t be doing the trail.)
Some equipment I found critical:
- Strong Light Pack – An obvious one but the environment is harsh so make sure your pack won’t fall apart.
- Good Shoes – The trail is very rocky and unforgiving. If your shoes are already “old,” they probably won’t last. Some argue for using trail runners to reduce weight on your feet, but I found hiking boots a better option. Several people with trail runners complained about their stability.
- Warm Sleeping Bag – It can get very cold; several nights were about 0°C, and the week before I arrived, one summit got down to -8°C.
- Wide Brimmed Hat – Even in winter, the sun is brutal. Without a good hat, you will burn.
- Warm Hat – For those cold nights and mornings.
- Maps and GPS – The trail is well marked in most places, but almost everyone I came across used their maps and GPS to confirm their location or navigate some sections where markings weren’t as obvious.
- Personal Locator Beacon (PLB) – If you get lost or injured, you’ll need this. Mobile phone coverage is very limited. More on this later.
- First Aid Kit – You will need a well-stocked kit and need to know how to use all items. More on this later.
Safety and Support
I walked alone, so everything was up to me. If I forgot something or ran out, I had to do without or improvise. I did run out of things, had to do without, and had to improvise – like when I mis-packed an entire day’s worth of food, resulting in me adjusting my diet and using some emergency rations to get through.
I used Larapinta Trail Trek Support (LTTS) for food drops, transport, and general support. I took their Extra Package, which included fuel, GPS tracker, gear retrieval, pre-trek plan review and monitoring, and bag storage. The team was invaluable in helping me prepare and looking after me on the trail. But they aren’t your babysitter and will try to help on the trail but aren’t miracle workers – this is your trek, not theirs. After I finished, I was transported back to Alice Springs by Zac, one of the owners. After listening to him talk about how they monitor and mobilise if one of their hikers gets in trouble, I’m super pleased to have had them looking after me.
If you get into trouble on the trail, you will need a PLB/Satellite phone to call for help; your mobile phone won’t help you. But even these don’t work in some of the gorges. I had my own PLB plus a GPS tracker from LTTS, so two means of calling for help.
A PLB alone is okay, but a GPS tracker (with someone who is monitoring) allows any search and rescue operation to see where you’ve been. Coupled with a submitted trek plan, it can significantly reduce the search area if you don’t arrive at a point on time and, for some reason, haven’t been able to activate your PLB (e.g., unconscious or stuck in a gorge). Using the GPS tracker, I was able to “check-in” with family at the end of each day, and they could monitor my progress via the web.
My first aid kit was one of the heaviest items I carried, and I had extra stock in each food drop box to replenish what I used on the trail. It was more comprehensive than any I’d taken before; I wanted to try and limit something “small or minor” from stopping my trek. The kit covered treatment for snake bites, wounds, medical issues, injuries, blisters, survival, and rescue items. While I didn’t use some of the more “drastic” items in the kit – snake bite, survival, and rescue – I did use a lot of what I’d packed. What I used most was my blisters kit, something I’d never had to use before. In fact, I used so much that I ran low on several items and supplemented it with a few gifts from other walkers – I’m now a convert to hiker’s wool! The team at LTTS has some great recommendations on their member forums as to what to include in your kit.
Your Enjoyment
One of the most important aspects of my planning was to ensure I had a trip that I would enjoy. This is why I structured an 18-day itinerary, allowing me time either on the trail or at a campsite to absorb the experience. For example, I reached Brinkley Bluff at 12 pm and spent the afternoon on the summit taking in the views, or I arrived at Fringe Lily Creek around 2 pm and spent time studying the huge rock walls surrounding the campsite.
In my mind, there is no point in going all this way, spending all the time and money preparing, only to spend 7 am – 5 pm smashing yourself on the trail. Instead, I wanted time to soak up the environment. But I know there are people who enjoy getting it done as fast as possible – each to their own.
